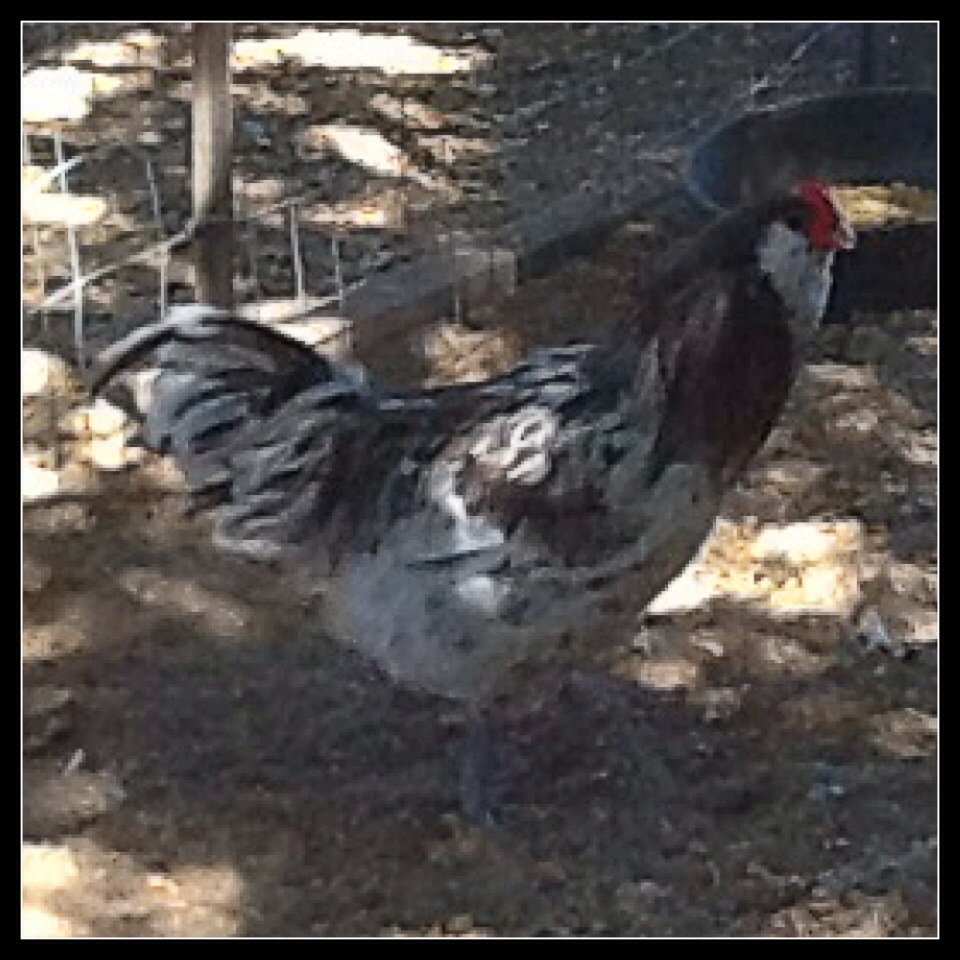
We are raising Guinea Fowl and aside from their amazing smell, they are really cool birds!
Perfect solution for an organic gardener’s pest problem. They love bugs and will delicately pluck them off your plants without destroying the plants (according to all the info we’ve read up on)
We are hoping they will keep the vineyard tick and bug free once they are released from their current run.
Unfortunately, last night some sort of predator found them and made an attempt at capture. It didn’t get much of a meal (the head and one wing) but it was a free meal, so I’m sure it will be back again soon.
We are making some adjustments to the run today, in hopes of keeping the rest of the flock safe!
However, since the predator did leave the bulk of the bird, I found this to be a perfect opportunity to dissect a bird and learn about its organs.
It’s a weekend, we are in our PJs and our laboratory is the tailgate of a truck.

Nothing like a typical classroom.
This is one of many reasons homeschooling so great!
The love of learning takes place anywhere and anytime.
So beware graphic photos are coming…if you are squeamish,
you might want to take my word for it…it was FASCINATING!
.
.
.
.
.
.
.
.
.

Unfortunate end to a lovely creature!

First we removed the remaining wing and legs.
The kids were noticing how the ball and socket joint was similar to Transformers and Bionicle Toys.
They are certain the designers of those toys must have copied nature’s design.
Good opportunity to discuss other ways nature plays a role in modern technology designs.

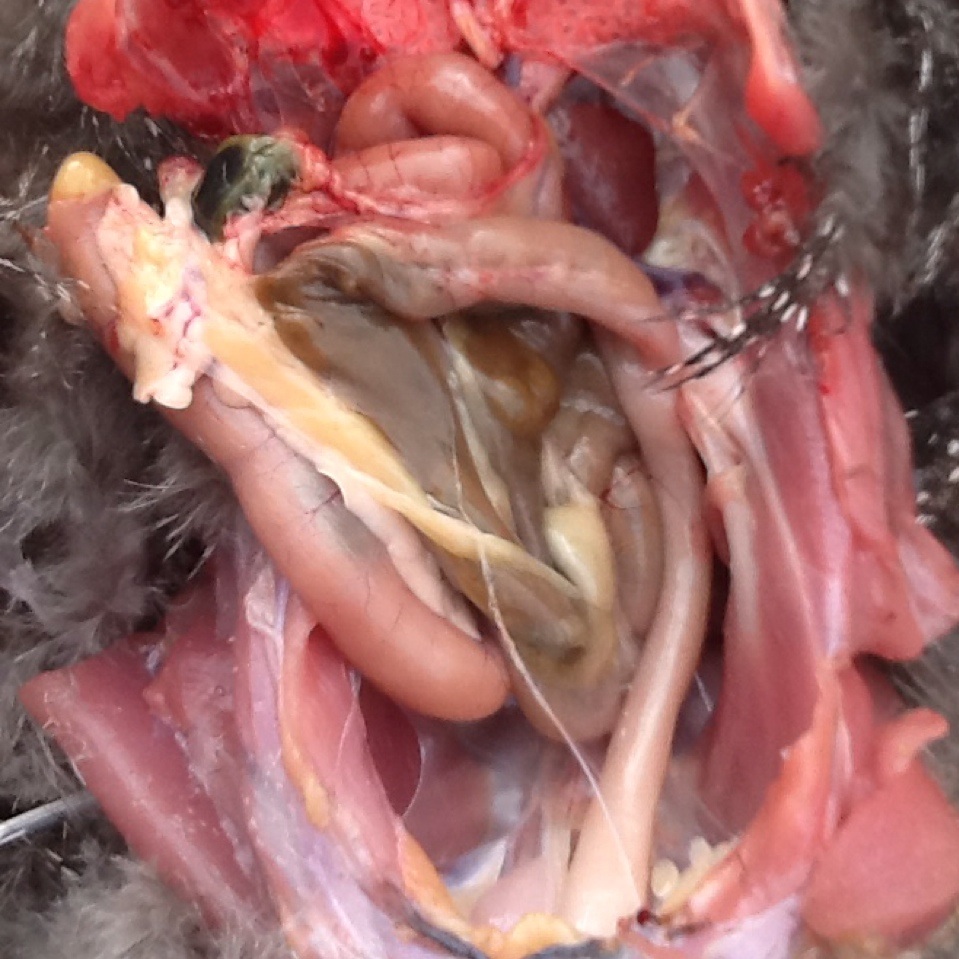
After flipping the breast-plate out-of-the-way, we were able to see the heart and either the liver or lungs clearly. (Did not have time to plan this dissection, so we are researching after the fact using our photos.)
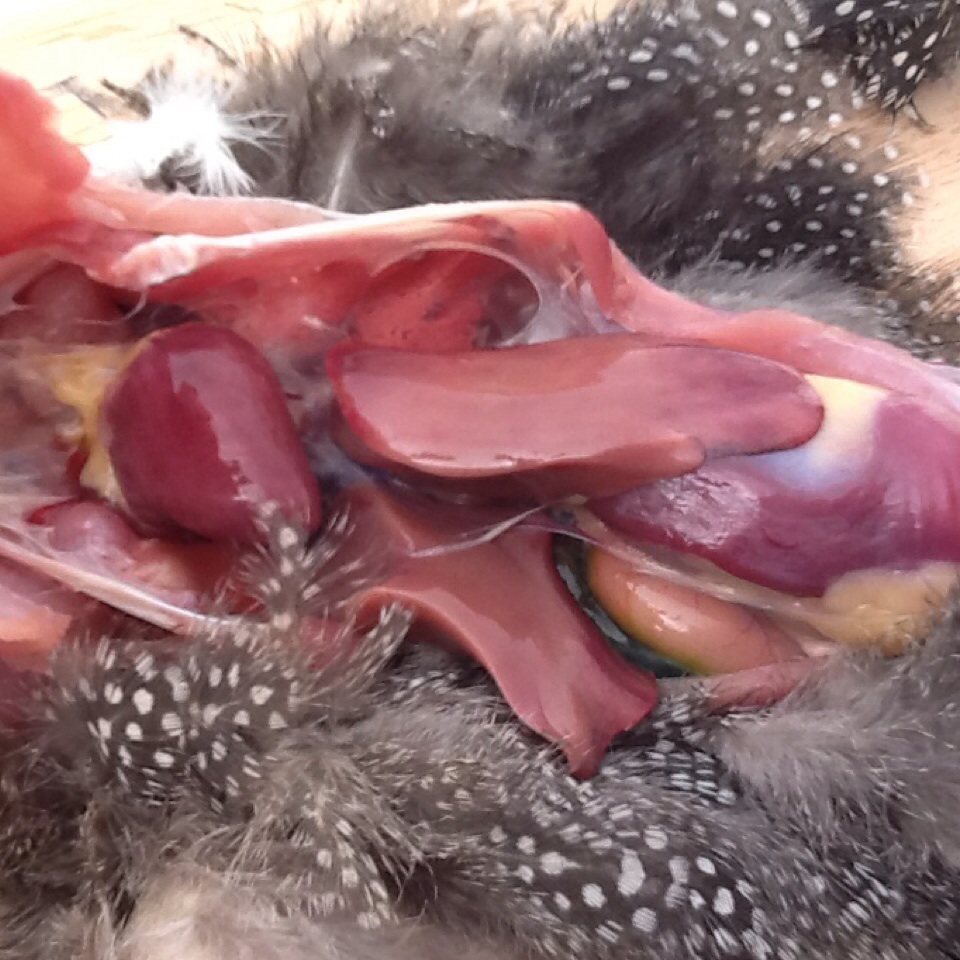
My daughter was very interested in the heart.

We cut it in half to see the various chambers…
(we will learn more about atriums, ventricles, valves, etc next week)

…and arteries.

Then we started dissecting the digestion process.
We aren’t 100% sure yet what each of these parts are named.
The kids have a research assignment for next week to solve these mysteries.

The part my daughter is touching is a VERY HARD THICK muscle!
Clearly used to help the inner stones crush up and break down the food.
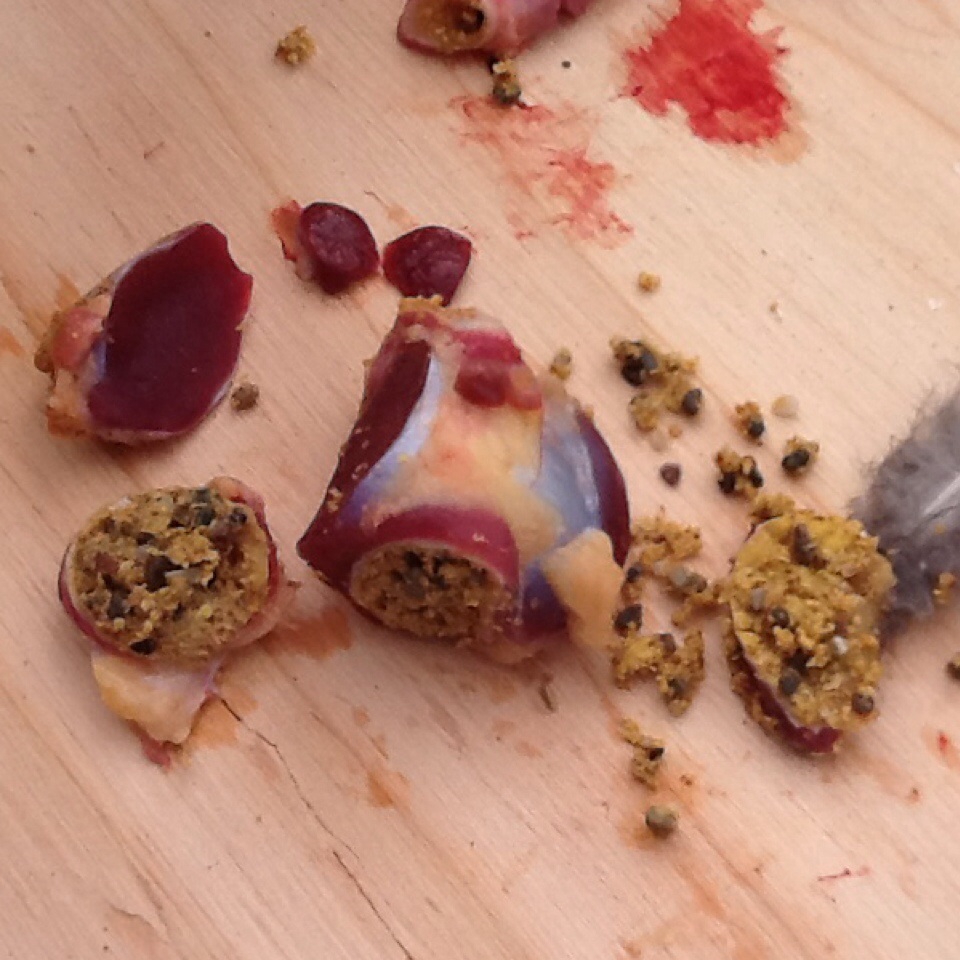
After cutting parts off, we discovered the left and right sides were THICK SOLID muscle masses
and the center was where food and small stones were being ground up.

After digging all the stony bits of food out, we cut it open to find the THICK STRONG muscle was lined
with an EXTREMELY THICK membrane that clearly played an important role in processing the food.
On to the intestines!
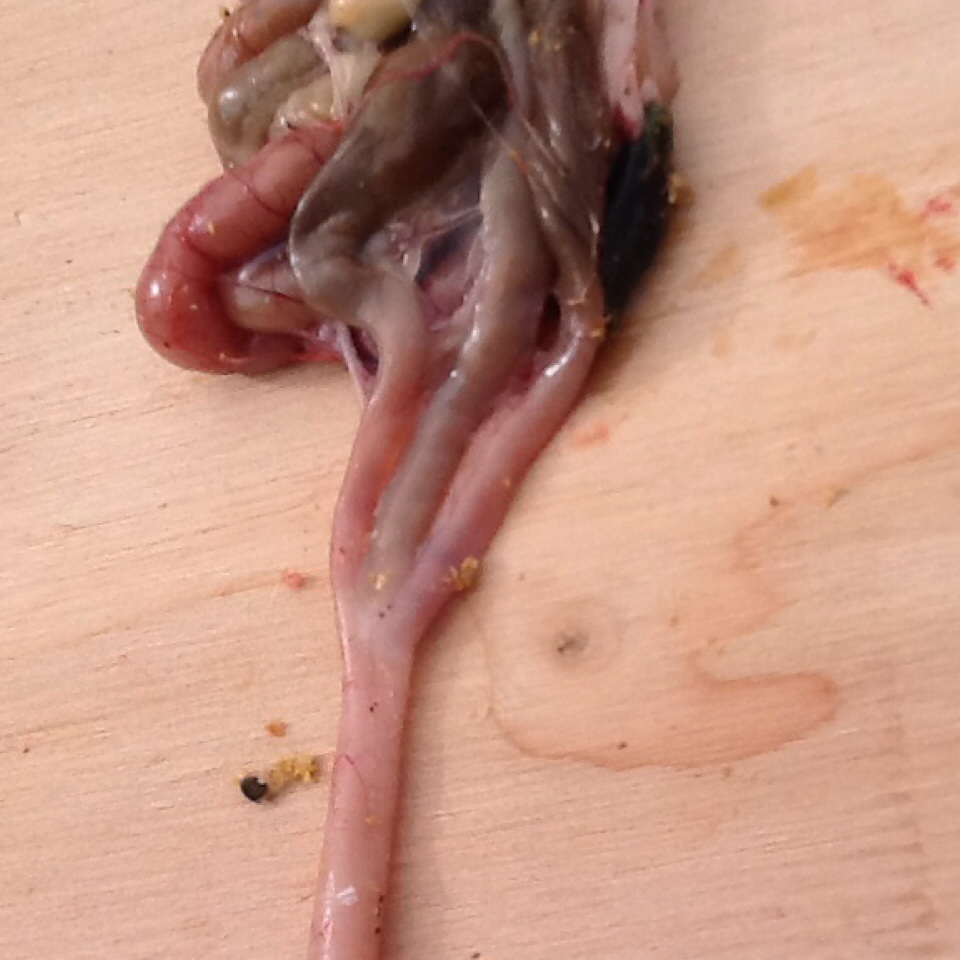
Aside from the occasional “ha ha you touched the pooper tube” joke, they were fascinated with the way
the different tangled systems were combining into one tube.
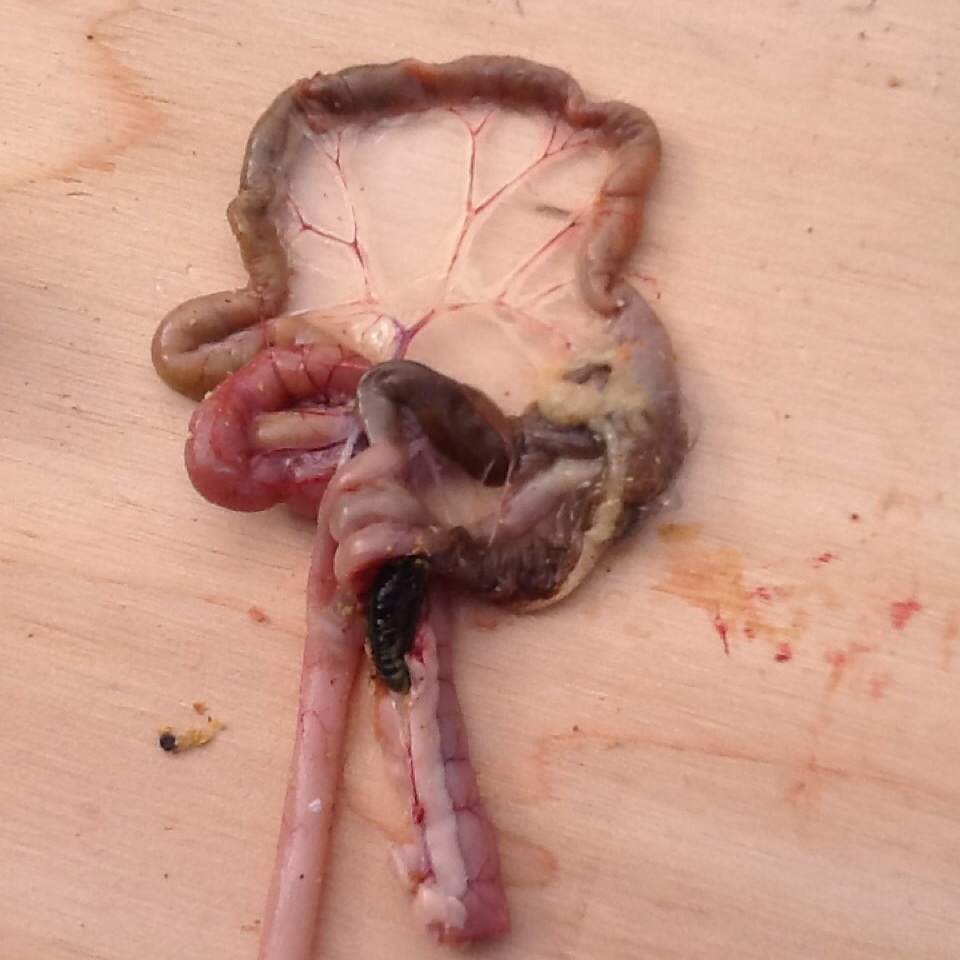
Seeing how delicately the blood vessels were attached,
yet how strong the very thin membrane was holding them together was a moment of awe!

It was also interesting to see the ribs attached…
….and we aren’t sure yet (research is in their near future) what the red bloody spongy tissue is covering the ribs.
We are guessing it has something to do with the respiratory system.
Science lessons will be fun next week!
We took WAY MORE photos then these, so we have LOTS of research in our future!
Mom will be learning along side the kids!
Other great aspects of homeschooling;
mama learns as well and you can be flexible in your plans to add research projects like this.